Table of Contents
- Part 2 – Kıngslayer title
- 1st Encounter Challenge (Totems) – The Grass is Always Greener
- 2nd Encounter Challenge (Warpriest) – Devious Thievery
- 3rd Encounter Challenge (Golgoroth) – Gaze Amaze
- 4th Encounter Challenge (Daughters) – Under Construction
- 5th Encounter Challenge (Oryx) – Hands Off
- One True King
- King of Kings
- King’s Fall Badge
- In conclusion – Kingslayer title
The Kingslayer title is the latest addition to the list of titles added to Destiny 2 and is the goal of anyone looking to show off their knowledge and achievements in King’s Fall. If you missed part 1, it is highly recommended that you give it a read, since it goes into detail on all of the Triumphs required for the Kingslayer title.
How to get the Kingslayer title in Destiny 2 – Part 1!
Part 2 – Kıngslayer title
In the previous article, I wrote a bit about the Triumphs that are required for the seal and title. This time around I’m going to be writing a bit about the Challenges and badge.
Once more if you don’t have an understanding of how the raid works it might be hard to understand a few of the concepts explained here. For a deeper level of understanding, you can check out our detailed guide for the King’s Fall raid.
Let’s jump right into it, starting with:
1st Encounter Challenge (Totems) – The Grass is Always Greener
“The grass is always greener on the other side”
And don’t we know it? This challenge is depicted perfectly by the name of the Triumph. Because for this one you’ll have to be swapping sides all of the time.
Same story each time, divide your team into 2 teams of 3, left and right. Once that’s all done the start of the encounter is the same, simple cycle. However, with a subtle twist.
Normally when someone swaps you out you go back to the middle to get the Deathbringer’s Power stacks off. After that instead of going back to your own team, you switch over to the other team, meaning that r1 turns into l1 and l1 turns into r1. The same goes for everyone else in the chain.
The rest of the encounter plays out the same: stand on the plate, run to the middle, kill the knight, swap the buff, and stand on the plate. Keep that up and you’ll be done in no time and the challenge will be completed.
Disclaimer! Challenges can only be done during the week when they are in the rotation – doing the challenge outside of rotation will achieve nothing. In contrast, doing the challenge during the week of the rotation will reward you with an extra chest.
2nd Encounter Challenge (Warpriest) – Devious Thievery
Warpriest again? There really is no easy way to say this… it’s the hardest of the bunch again.
As if Warpriest wasn’t hard enough we have to throw in a timer on when we can swap the buff. Basically, it boils down to having 5 seconds to swap the buff after picking it up. It can sit on the ground after killing the knight, because of that there’s no rush to pick it up.
The easiest way we found doing this was to do the DPS wherever the Knight is because that 5 second time limit feels more like 3. Keep on swapping the buff within the time limit while shooting the boss in between.
Little by little, you’ll eventually have killed the boss and the pain will be over. With the wipe machine finally dead, you’ll be able to claim your hard-earned loot and then something.
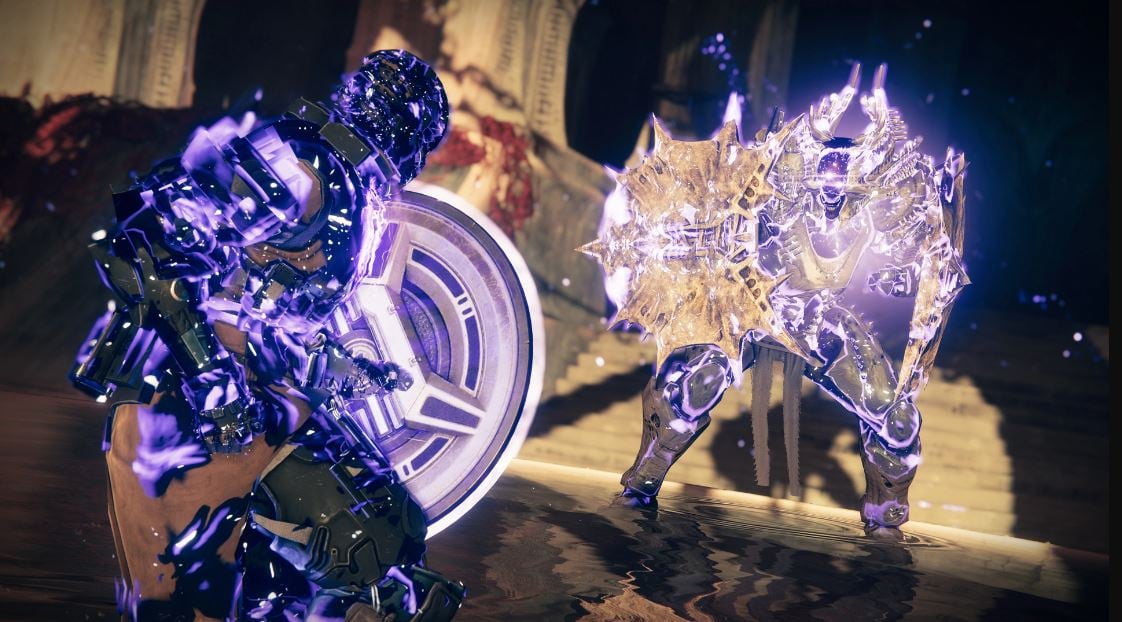
3rd Encounter Challenge (Golgoroth) – Gaze Amaze
Love a bit of wordplay, Bungie sure is clever with the naming of these. I don’t love the challenge though.
So first things first, team designation should be letting 2 people focus on the gaze, so as to maximize DPS by everyone assigned to it. Now, the Challenge requires the person holding the gaze to stand in the poison along with everyone else. Thankfully you don’t have to stand in it the entire time – you just have to step in it.
This, however, complicates things when you become the living bomb. If this happens to be the case, make sure to immediately swap the gaze and make your way to the boss. Don’t be the reason you wipe the encounter.
That’s really all there is to it, if you keep good track of the timing of the gaze and make sure to step on the poison you should be in the clear. Not too annoying, but not too fun either.
4th Encounter Challenge (Daughters) – Under Construction
Back again to the easiest encounter in the game. This challenge is pretty straightforward, but it requires good team coordination. Once per rotation, each person can activate a unique plate only once.
This means 2 things, first, once you’ve activated a plate regardless of if it’s the correct one or not you can no longer step on that plate for the first 3 Torn Between Dimensions. Second, multiple people can stand on one plate, meaning that both the person activating it and the person who is “Torn” can stand on it.
If the first callout is l1 three times in a row, that means you will have to have 3 different people activating the plate. But if the first callout is l1 for the first rotation and then l2 on the second one, the same person can step on both plates. You just can’t stand on the same plate twice.
Now I mentioned that this is once per rotation, which means that once you’ve killed one of the daughters you are free to step on the ones you’ve already stepped on until the second rotation is done. However, the rules apply for the second rotation, the same as the first.
5th Encounter Challenge (Oryx) – Hands Off
This sure was a rough one to deal with. Still hard to wrap my head around it.
Same as usual for Oryx, teams should be composed of 4 people on each of the 4 plates with 2 helpers. Once you have that settled, same as usual kill all 4 knights to get Oryx to move to one of the plates, and then all havoc breaks loose.
Now instead of just killing the ogres and knights as they spawn and helping out your teammates, you just need to count on your teammates for this one. That’s because the challenge is that you can only kill the ogre and knight on 1 of the sides for the entire boss fight.
Meaning if you’re l1, you can only kill the ogre and knight on l1 for the first DPS phase. After that, you’ll have to switch sides with someone and trust that your teammates will take care of their own ogres and knights.
The rest of the encounter plays out basically the same, jump on platforms to grab blights, get Brand Claimer, steal the aura, detonate bombs, and last but not least kill Oryx.
One thing to keep note of, the last two ogres that spawn during the last stand count as being killed on l2 and r2 respectively so I would avoid killing them if you already have. Best to leave that to the helpers to avoid confusion.
One True King
While the weekly challenges are concluded with the 5th one I thought it would be best to mention One True King here. This is the Triumph for completing the raid on Master mode. This Triumph will also reward you with the Ship from the raid.
King of Kings
None shall pass! Without completing all the challenges on Master anyway. If you think any of these challenges are agony, just wait until Master rolls around.
King’s Fall Badge
The Badge is required for the title as is the case with every other raid title. That means it’s time to pray for good RNG.
I’ll list off all of the required items in order to obtain the badge:
- Touch of Malice – Exotic Scout Rifle
- Doom of Chelchis – Legendary Scout Rifle
- Qullim’s Terminus – Legendary Machine Gun
- Smite of Merain – Legendary Pulse Rifle
- Defiance of Yasmin – Legendary Sniper Rifle
- Midha’s Reckoning – Legendary Fusion Rifle
- Zaouli’s Bane – Legendary Hand Cannon
- Full Armor Set
- King No More – Emblem (Raid Completion)
- Ancient Wisdom – Shader (Secret Chests)
- Ossified Skycarver – Exotic Ship (Master Raid Completion)
- Ossein Earthcarver – Exotic Sparrow (All Challenges on Master)
For a closer look at the guns and decent recommendations for god rolls on every weapon I highly recommend checking out our article on King’s Fall weapons.
*(Insert Link)*
In conclusion – Kingslayer title
The raid loot is amazing and the exotic feels like something that will be useful for the foreseeable future (queue that aged poorly memes). But in all honesty, it’s a lot of fun and will surely be a lot of fun to experiment with.
If you missed the first part it’s highly recommended that you check that out as well. It includes a promotion, so don’t miss your chance to snag yourself a nice discount.
You can check out all the services Blazing Boost provides for the King’s Fall raid here! Read more about Destiny 2 on our blog 🙂