Table of Contents
What is the Kingslayer title?
The Kingslayer title is the latest addition to the list of titles added to Destiny 2 and is the goal of anyone looking to show off their knowledge and achievements in King’s Fall.
Naturally, as with previous titles, it requires a list of Triumphs, Challenges, and the raid Badge to be obtained in order to be completed.
Which Triumphs are required for the title?
There are a total of 6 Triumphs, they can be done at any given point in time and include all 5 of the encounters in the raid as well as the opening encounter that is required in order to progress the raid.
Not sure how to do the raid? We have a detailed guide of every encounter directly from a Day 1 raider. Why not check it out?
So what are these aforementioned Triumphs? Let’s start from the beginning:
Opening Encounter – Controlled Dunks
“Complete the Hall of Souls encounter while never letting the same players deposit relics until everyone else has.”
In order to complete Controlled Dunks, you need to split your team up into 2 teams of 3. Team left and team right are usually good enough, after that, it’s good to assign numbers 1-3 as well to each of the three people on each team.
Once that is done you will take turns depositing the orbs into the totems one by one. So as an example l1 and r1 will be depositing the first two, l2 and r2 will be depositing the second too, and so on. Keep cycling the deposits until everyone on the team has deposited 1 of the orbs.
Once everyone has deposited once it’s free for all and you can have whoever is free deposit the orbs. It would still be the fastest to continue to cycle your team as you’ll already have someone ready by the time you deposit the orb. Just like that the encounter is done and you’ve finished Controlled Dunks.
1st Encounter (Totems) – Overzealous
“Complete the Basilica encounter while never allowing more than one player to stand near a Totem.”
Yet again we’re dividing the team into 2 teams of 3, you can just keep the same teams for left and right. The entire raid is pretty symmetrical and this will be the split for nearly everything.
Overzealous is rather easy, it boils down to a slight strategy variation of how you would normally complete the encounter. Instead of having people who pick up the Brand Claimer buff run over to the plate in order to swap the buff, you’ll have the person on the plate run toward the middle.
That way you avoid swapping the buff near the plate and you avoid failing the challenge altogether. Certain teams say this strategy is easier to do even outside the Triumph itself, however it runs the risk of having the totem explode due to nobody standing on the plate.
2nd Encounter (Warpriest) – Brand Buster
“Complete the Warpriest encounter while never letting the same player obtain the Brand until everyone else has.”
Brand Buster as everything relating to Warpriest might be the toughest one out of all of them. Why? Warpriest is hard.
Same drill as last time, 2 teams of 3, no surprise there. You’ll have to have 2 people dedicated to every plate in the encounter of which there are 3. Splitting the teams further into left, middle and right.
Team 1 follows the encounter normally you will have the last person to step on the plate stand in your DPS spot of choice. The other two from the same team will be in charge of taking out the 2 knights and swapping the buffs.
Team 2 will then follow their example and replicate the steps in the exactly same way. After the 2 teams have had their rotations, if the Warpriest is still not dead it becomes a free for all. After killing the boss and getting revenge for Day 1, Brand Buster will be completed and we become one step closer to obtaining the title.
3rd Encounter (Golgoroth) – Taking Turns
“Complete the Golgoroth encounter while never letting the same player taunt Golgoroth until everyone else has.”
Pretty self-explanatory and probably the easiest one to get provided everyone has gotten the gaze from Golgoroth at least once in their lifetime. Sadly that is not always the case, but don’t let that discourage you.
The reason I say it’s the easiest is that all it boils down to is having each person get Golgoroth’s gaze at least once. Just take turns obtaining the gaze from 1-6 and you should be all good. If somebody fails to get the gaze in time, don’t panic.
There’s no reason to immediately call for wipes and to reset encounters there’s still a chance. The wording only says that it has to be in sequence, not that it has to be done in one phase. Take your time to get ready to start it up again and have the person who was late get the buff to start the cycle up on the following DPS phase.
After you’ve had a full cycle and everyone has gotten the gaze at least once you can switch over to the free for all. At that point, it’s as good as done and you should get Taking Turns.
4th Encounter (Daughters) – The Floor Is Lava
“Complete the Daughters encounter while never letting a Torn Between Dimensions player touch the ground.”
What a great name for a great Triumph. This one takes a bit of theory-crafting and will have you and your team sitting at the whiteboard drawing up possible ways to traverse the map without touching the floor.
While on the surface it seems very difficult the most important thing to keep in mind is that only the person that is Torn Between Dimensions can’t touch the ground. Now start panicking again because anyone could become the “Torn” person when you stand on the active plate.
Might want to make sure everyone is on a higher surface before that. Once the first person is “Torn” the rest of you can run around on the floor until they’re just about to pick up the blight. After that make sure you’re on high ground.
Keep doing that 3 times until you can get the buff off of one of the daughters. Follow the DPS as you would normally and then back to standing on high ground and standing on plates you go. After killing the second daughter the encounter is over and you will get The Floor is Lava.
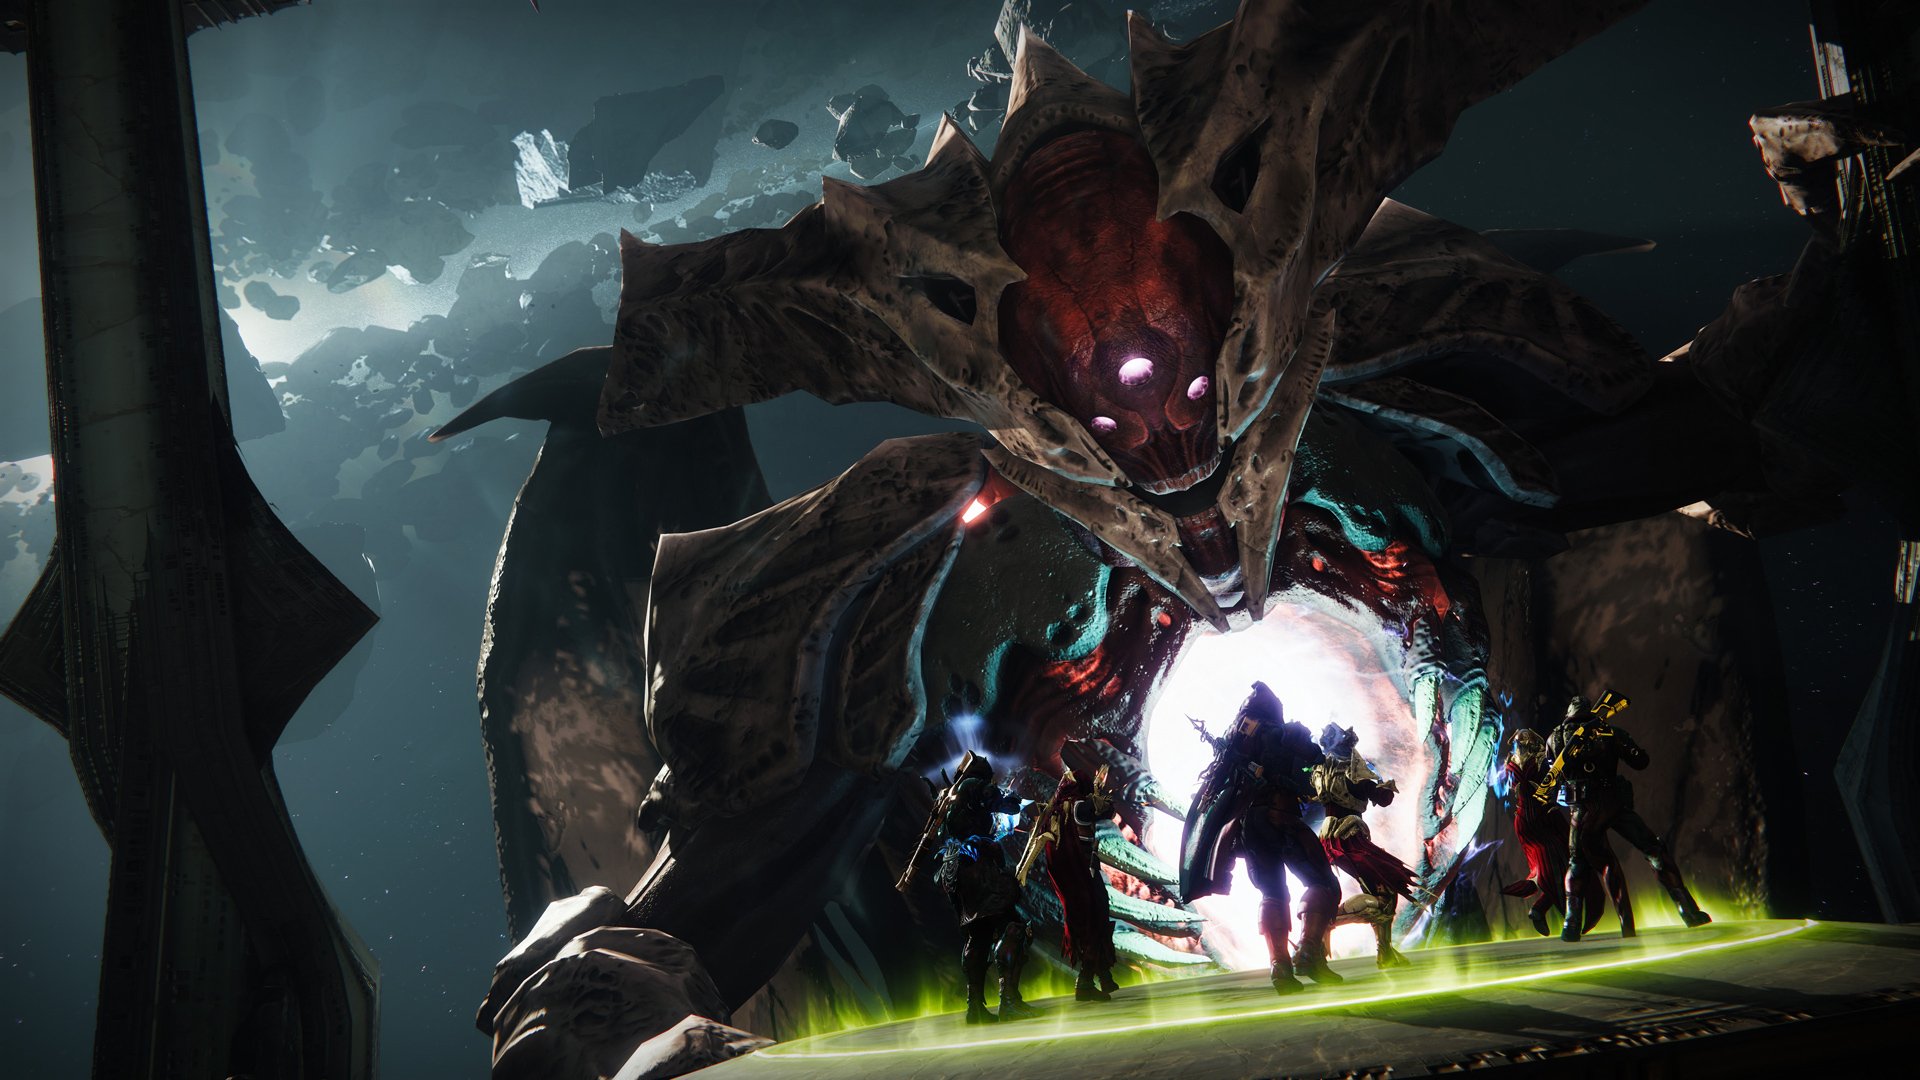
5th Encounter (Oryx) – Overwhelming Power
“Complete the Oryx encounter by detonating enough bombs to trigger the last stand in the same round.”
The Triumph name is on point. Nothing feels cooler than absolutely destroying Oryx in one phase. It is one of if not my favorite Triumphs to do in the entire game ever.
So while it may seem hard just like before, it’s not tough once you kind of get the hang of it. For the most part, it’s just like doing the encounter as you would normally, kill Ogres, kill Knights, and so on. The only difference is that you will entirely skip 2 out of 3 of the damage phases.
For the first two damage phases have only 1 player detonate one of the bombs and avoid damaging the boss at this time, this will avoid a wipe because Oryx will be stunned and will give you more bombs to work with for the following phases.
On the third and final phase have everyone detonate all the bombs at the same time for a total of 10 bombs making the damage phase surprisingly long. Keep DPS-ing Oryx until he is no more and that’s Overwhelming Power.
King’s Ransom – Hidden Chests
The Triumph requires you to find all 3 of the hidden chests. The first one is after the opening encounter right after you go through the portal.
The second one is right after Warpriest, in the maze, it’s obtained by stepping on a series of plates in order from 1 to 5.
The third and final one is on the jumping puzzle after Golgoroth, by pressing tab to call your ghost out it will reveal hidden platforms you can climb in order to get to the chest.
Court of Jesters – Clan Night
This one is obtained by completing the raid with a full team of clan members as is the case with any of the other ones.
Spark of Defiance – Full Arc
Just like with other raids there are Triumphs for completing every raid encounter with a full team composed of the same Subclass. This one in particular is for Arc
Sunburst – Full Solar
Same as Spark of Defiance, you just need a team full of people on the Solar Subclass.
The Abyssal Society – Full Void
First of all, the coolest name ever. I need a TV show about this right now. The last of the series we have a full team of people on the Void Subclass.
Hive Mind – Full Same Class
Time for the Hunter mains to unite in a glorious raid to echo through all of eternity. But no honestly, Warpriest with no Well… really?
Part 2?
Seeing as there’s just still so much to talk about I will be splitting this guide into two parts. You can read all about the weekly challenges in the following article.
If you’re one of the people saying “I tried all of these and none of them worked!”. You’re exactly right, they didn’t. Bungie released a hotfix on the 13th of September fixing the bugs with the Triumphs and the weekly chest.
I truly can’t recommend this raid enough. It’s been a real pleasure to experience all of it with my teammates and have a chance to play through it. If you’re interested in trying it out but don’t have a team to play with, why not try Sherpa?
To help you with this decision we’ve started a promotion, until the end of October you can screenshot this message and send it over to BlazingBoost Destiny2#2444 on Discord, for a 7% off King’s Fall Sherpa!
You can check out King’s Fall services on Blazing Boost here! Check out other Destiny 2 articles 🙂