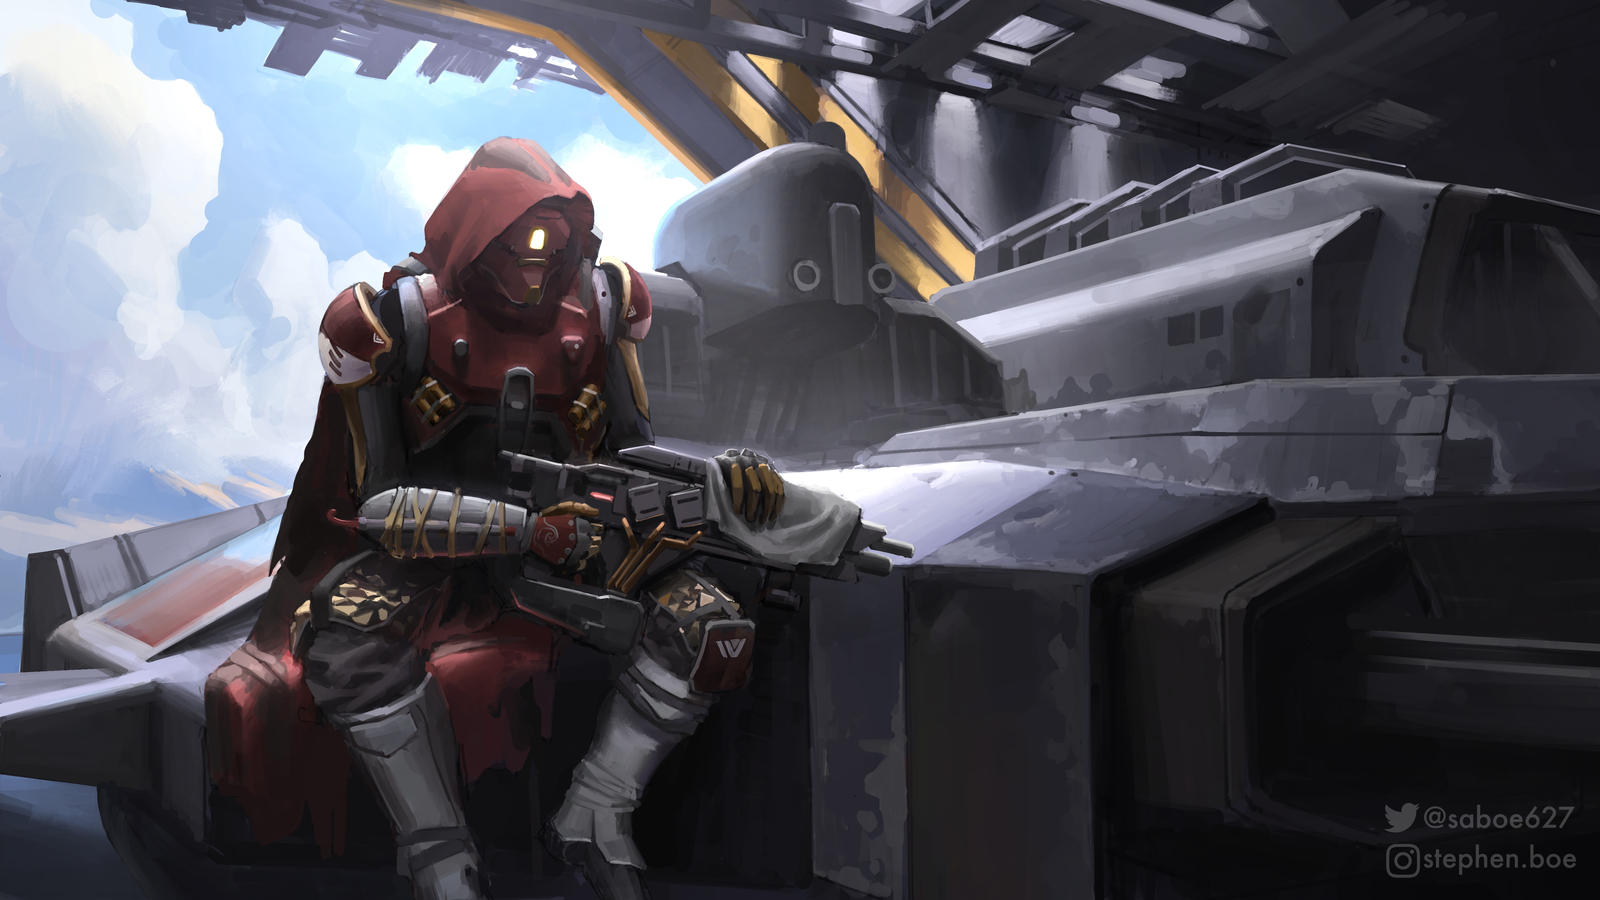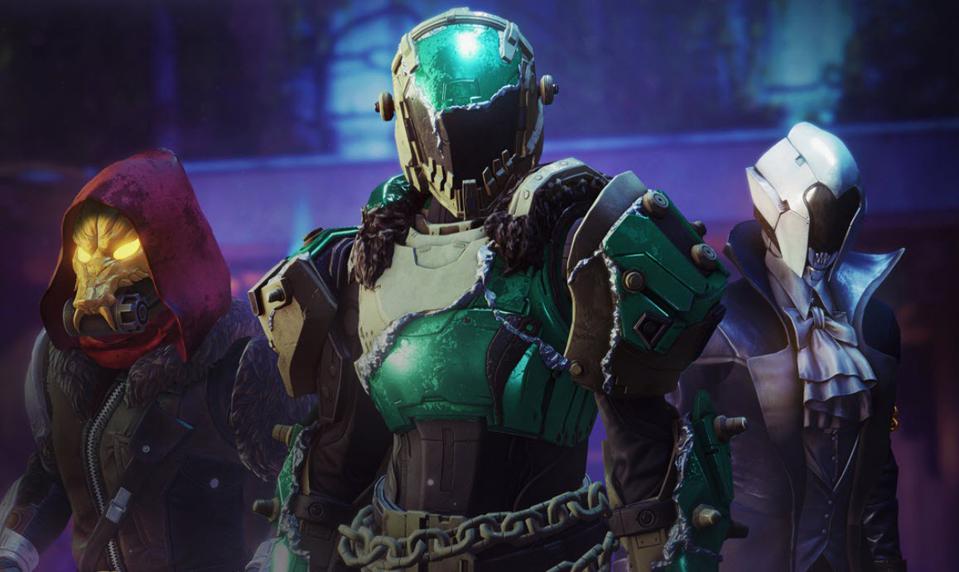
This raid guide will teach you everything you need to know about the hottest Destiny 2 raid at the moment – King’s Fall. Dive into the guide to learn the ins and outs of how to handle each encounter with ease. Let’s begin!
Table of Contents
What is King’s Fall?
King’s Fall is the latest addition to the raids available in Destiny 2 reprised from Destiny 1 where it was originally released. It was introduced in the Taken King expansion and was a huge hit, but was notorious for having very buggy encounters.
The Destiny 2 version has fixed some of these issues and has made changes to many of the mechanics and has added plenty of damage phases to make the encounters feel more interactive.
With its launch, the raid brought about yet another World’s First race, with countless fireteams competing for the coveted title and a flashy new emblem they can use to show off. In addition, my team and I completed King’s Fall successfully (both normal + challenge) on Day 1, and hours of going it blind and figuring out all the mechanics enabled me to remember all the nitty-gritty details needed for your first raid run to go smoothly.
What’s the King’s Fall raid race?
This is a term used in many games, it’s usually labeled as World’s First or simply a Raid Race, however in Destiny it’s most commonly known as Day 1. Why Day 1? That’s because the coveted rewards that most people look for can only be obtained within the first 24 hours of the raid’s release.
Of course, every race has to have its winner and in the case of King’s Fall in Destiny 2, the winner is team Elysium. The clan has an amazing track record with this being their 3rd in a row title. Having obtained both the Vault of Glass and the Vow of the Disciple World’s First, they have forever cemented themselves in the history of the Destiny Community.
While we would love to have something on a larger scale similar to how WoW does the World’s first race for raids over multiple days. That way the race is more community-centered as opposed to just being as rushed as Day 1 can feel at times.
By the way, make sure to check our Solstice of Heroes 2022 article!
What are the encounters?
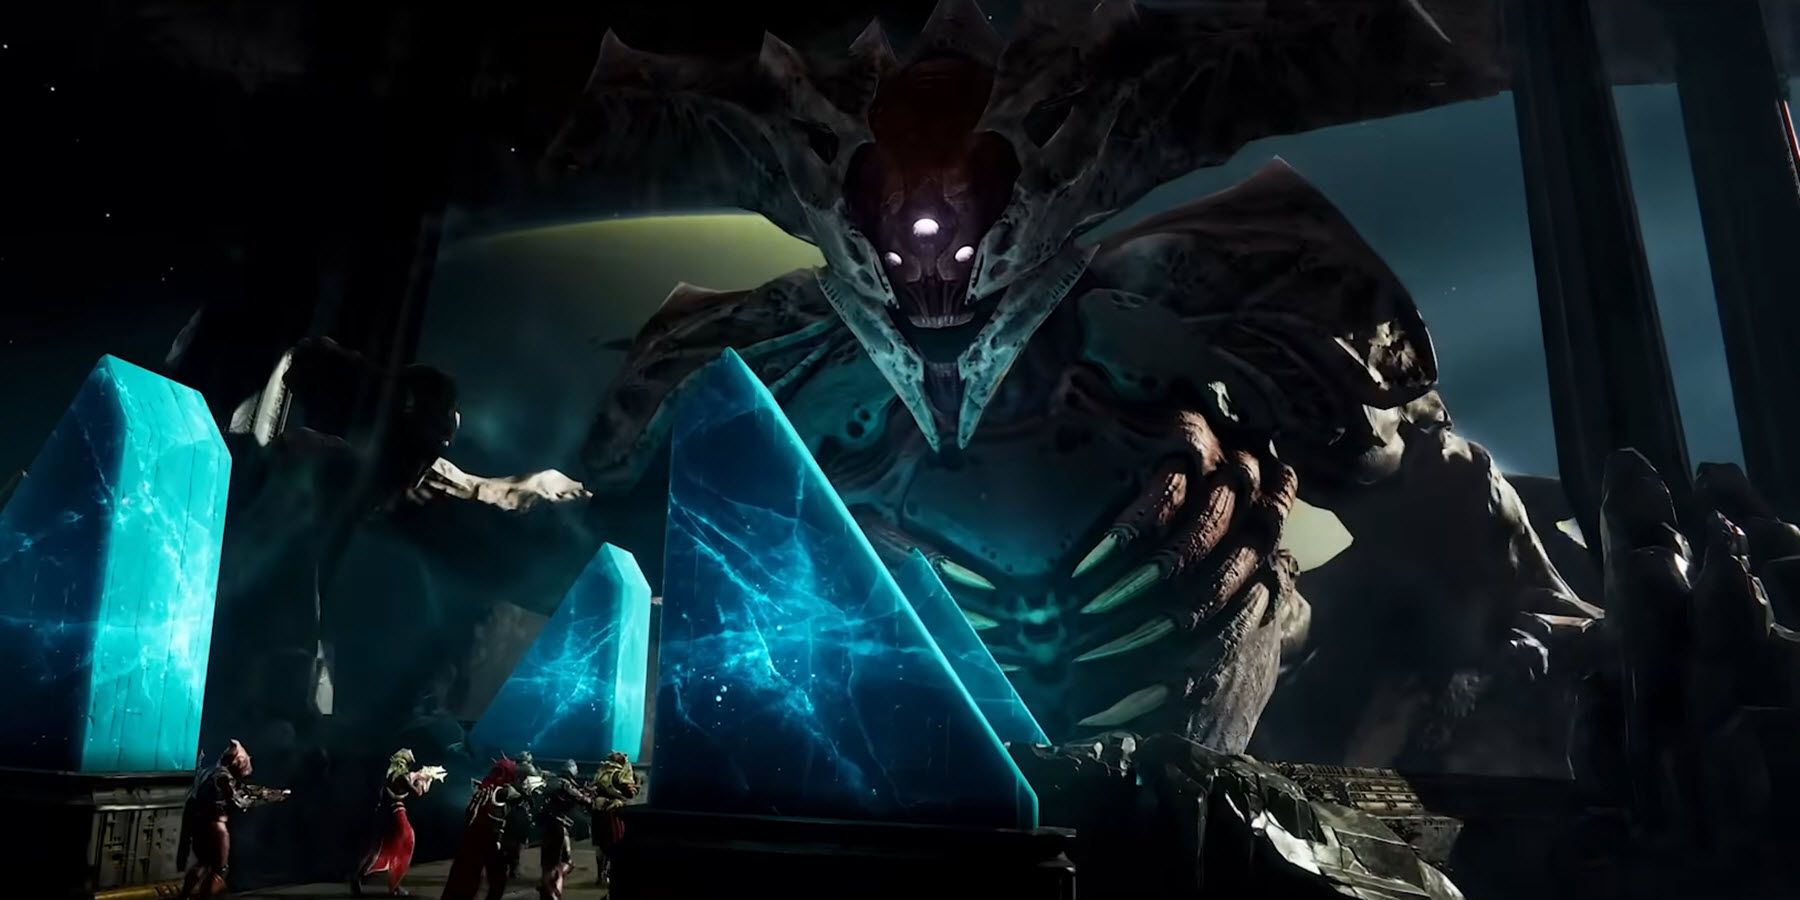
King’s Fall has a total of 5 encounters as well as an entrance encounter similar to the one that was in Vault of Glass.
Pre-encounter
The objective of the pre-encounter is to gain access to the Dreadnaught, in order to do that you need to pick up blighted orbs and deposit them into pillars. Each blighted orb has a right and left hemisphere split to 2 sides of the room.
The way you’re supposed to do this encounter is to have 2 people split off onto each side, leaving the remaining 2 people to clear the ads.
Once split off, one of the people on both the left and right will have to pick up the orbs and bring them to the middle in order to deposit them at the same time. Once you pick the orb up, taken walls will spawn, preventing you from moving forward. In order to remove the walls, the people in the middle need to shoot taken blights to open the way for you.
Rinse and repeat until you’ve locked out a total of 6 pillars and the pre-encounter is done. This will award you with a chest that drops regular loot.
King’s Fall First Encounter – Totems
For Totems you need to split into 2 teams of 3 people, one for the left side and the other for the right side. Split each team further into designated roles, you’ll need a first person, a second person, and a third person.
Let’s take the right team as an example. Person 1 will pick up the aura called Brand of the Weaver at the entrance to the room on the right, after which he will proceed to the back of the room where there is a plate to stand on. If you fail to stand on the plate in time it will wipe out the entire fire team, which is why it’s so important to start with that. The buff lasts for 30 seconds, giving you enough time to do the necessary mechanic.
Once on the plate, you have to keep standing on the plate to make sure it doesn’t wipe you. Being out in the open will make that extra hard, as ads will continuously spawn in the room that is crucial to your objective.
When you have the aura buff and are standing on the plate, your next objective is to kill the ads in order to obtain stacks of a buff called Deathbringer’s Power. Gather as many as possible before the timer ends as you’ll have to deposit them back into the middle of the room afterward. There is a mix of regular and elite ads, elites give more points and deal more damage, so make sure to focus on them first.
When your buff approaches the end of its duration, you’ll have to get it swapped or you will die, that’s where person 2 comes in, while you are killing ads in the right room they’ve been in the main room killing a Hive Wizard and then a Taken Knight. The Taken Knight, once killed, will drop a buff called Brand Claimer, which is required in order to swap buffs and will be the main obligation of person 2 in the team.
Once the second person takes the buff from the first one, they will obtain the aura and will need to stand on the plate while person 1 goes back to the main room. When in the main room they need to stand on the plate in the middle of the room to take their Deathbringer’s Power stacks down and deposit them.
While he does that, person 3 is killing the Wizard and Knight in order to save person 2 from the right room. Rinse and repeat until you have enough stacks of Deathbringer’s Power deposited, which is the condition for completing the encounter.
The same process applies to the left team. You work together to fill the plate up and finish the encounter. Be wary of Unstoppable Ogres which spawn in the center after filling the plate up to half.
King’s Fall Second Encounter – Warpriest
Warpriest is by far the hardest encounter in the raid and was one of the encounters many teams were stuck on for the longest time during the race. It includes a lot of team coordination and it’s a DPS check, meaning if you have a team of people who don’t do satisfactory damage it would be very difficult.
There are 2 main roles people can take in the encounter with the last one being a helper. The first main role requires standing on a plate, there are a total of 3 plates to stand on, one on the left, one on the right, and one in the middle. So you should designate 1 person for each of the plates.
You’ll need to stand on the plates in the correct order. To know what the correct order is, once you’ve cleared the ads the middle plate will glow to indicate that it’s ready. When first stepping on the plate it will show a glowing hive on the back of a stone in front of one of the plates. If you don’t see either of them glowing it’s the middle one.
Stepping on the correct plate begins the sequence, once you step on the correct one, you’ll be able to see which one needs to be stepped on next, and so on until all 3 are stepped on in order. After you’ve done a sequence properly you’ll get an aura similar to the one in the first encounter. The aura allows your team to damage the boss and is the main way you damage the boss, hence necessary for the completion of the encounter. The buff only lasts 20 seconds this time, so timing is everything.
When the aura is picked up, Taken Knights will start to spawn on the other two plates. This is where the second mechanic comes into play. Whoever is designated to do the second role will need to kill these knights in order to get the Claimer buff to exchange the buff and reset the timer. Since there are two knights you can do this two times. Coordinate with the helper to make sure that the knights are killed quickly.
After swapping the buff for the second time, once it runs out the DPS phase is over, but the person holding the buff doesn’t die in the process. Once DPS is over the boss will start a wipe mechanic. In order to prevent it you would need to stand in the shadow of one of the stones mentioned before, which will usually be the stone in front of the plate you got the aura from.
Once you successfully survive the wipe mechanic the stone will disintegrate, making it unusable for the remainder of the encounter. That means you only have a total of 4 DPS phases to kill the boss before you wipe the encounter.
King’s Fall Third Encounter – Golgoroth
The encounter is fairly straightforward and is considered one of the easier ones. Again you will need to split into 2 teams for this encounter. Team 1 will be in charge of keeping the boss’s gaze on them. Swapping between each other, he will turn to you once you’ve obtained his gaze and start shooting out axiom bolts. Axiom bolts do a large amount of damage and poison you so try to shoot them down as they come toward you.
Having the boss’s gaze will open up a weak spot on their stomach which is how you DPS the boss. It’s important that while you have the gaze on you that you are behind team 2 who are going to be standing in the pit in front of you in order to DPS the boss. Keep swapping the gaze until the 6 damage phases are over, after which the boss will reset and start targeting random people.
Team 2 on the other hand starts the encounter by ad clearing, you go around and kill all the ads in the arena to ensure you’re not overwhelmed while you DPS the boss. Above the boss on hooks, there are poison blight sacks. To start the DPS you will need to shoot down the sack and stand in the pool it leaves behind. The pool will increase your damage to the boss.
While standing in the poison, the boss will select one of the players at random to turn into a ticking time bomb, once marked you will have 10 seconds to move over to the boss and you will detonate upon the debuff running out. Once you explode it will do a sizable amount of damage and stagger the boss slightly. Giving you time to shoot down the next sack. There are a total of 6 sacks to shoot down, just rinse and repeat until the boss is defeated.
King’s Fall Fourth Encounter – Daughters of Oryx
This encounter is by far the most simple one and is a segway to the final boss. It does a good job of introducing you to some of the core mechanics for the next encounter. No team distribution this time around. The encounter is fairly straightforward but requires teamwork in order to complete it.
Starting the encounter you will see 4 plates and 2 big pedestals in the middle upon which the Daughters stand. One of the sisters will be singing and the other one will shoot at you with Taken magic. On one of the 4 plates, there will be a Taken knight that needs to be killed in order to start the first mechanic.
Upon killing the knight, he will empower the plate he was previously standing on. When you step on the plate you will see in the air above one of the other plates a marker for a blight, you’ll need to call out above which plate the blight is so that someone on your team can go and stand on the corresponding plate. Once you’ve stepped on both plates, platforms will spawn from the first to the second one.
However, not everyone can step on these platforms, which is where our second mechanic kicks in. One of the players on your team will get a buff called Torn Between Dimensions. The boss who is shooting Taken magic will target the person who is torn. It will be that player’s job to jump from the first plate, onto the platforms and all the way across to the second plate, picking up the blight in the process.
You need to do this mechanic 3 times, after which you will receive the Brand Claimer buff that is used to destroy the barrier around the boss and start the DPS phase. There are places to stand beneath the pedestals that give a good vantage point for that. Most teams prefer to destroy the barrier on the Daughter that is shooting. Once you destroy the barrier, you’ll receive the Brand of Weaving aura similar to the one in the previous encounters.
The aura is what’s going to be keeping your team safe from the blast of the bosses. When the encounter starts the entire team will get a debuff called Hymn of Weaving which lasts 2 minutes and if it runs out, your team wipes. That’s where the aura comes in, anyone standing in the aura will be safe.
To finish the encounter you need to kill both Daughters. After killing the first one, the game forces you to kill the other one in the next phase or it will also result in a wipe. There’s of course an option to leave the first Daughter low and finish her off later, so as to not wipe. Once you have killed both Daughters, it will end the encounter and you’ll move on to the final encounter.
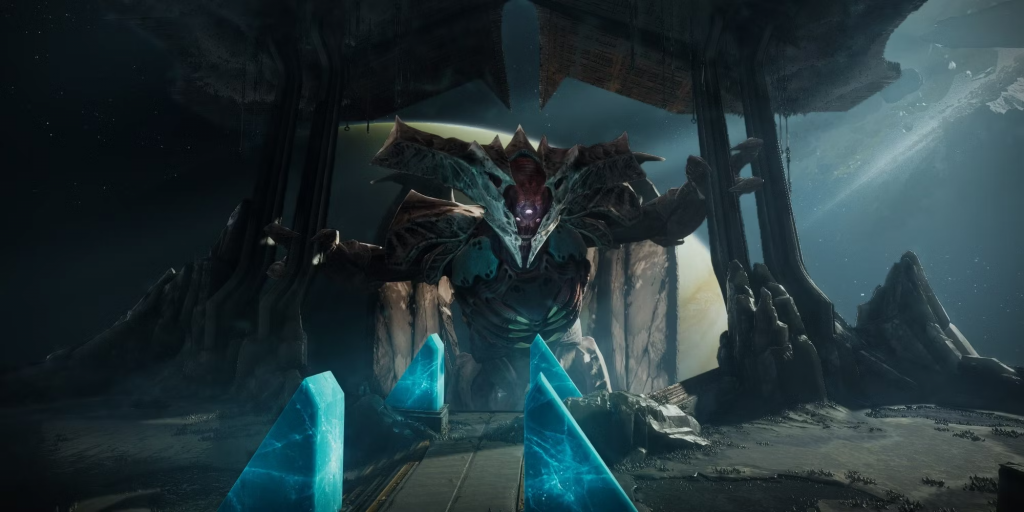
King’s Fall Fifth Encounter – Oryx
The big bad, the Taken King Oryx. Like in the previous encounter, it doesn’t really require any team splitting, just an understanding of the mechanics and how to do them. That being said, while you don’t have to split it’s not the worst idea to have one person designated to each of the 4 plates in the room.
To start the encounter you go all the way to the end of the room where there’s a Taken shadow waiting to be scared off. Out of nowhere Oryx will emerge and start the encounter. The first thing you need to do as a team kills all 4 of the knights that spawn on the plates. Doing that will make Oryx move to one of the plates and in a similar fashion to the previous encounter, he’ll hit the plate in front of him, activating it. That is the first place you need to stop and the mechanic follows the same as the previous encounter.
However that’s of course not all, Oryx now introduces a few more new mechanics. Firstly, after hitting the plate, he will start spawning Light Eater Ogres in counterclockwise order. These ogres after dying will drop a blight with an aura around it. Do not step on it right away.
On the opposite side of where you killed the ogre, a Light Eater Knight will spawn and will start making its way to the blight spawned by the ogre in an attempt to consume it so as to prevent you from doing the mechanic. It is of great importance that you kill this knight as soon as possible in order to prevent this from happening.
Once you’ve done the first mechanic 3 times you’ll again get the Brand Claimer buff. However, this time you will need to remove the aura from the Vessel of Oryx, this will give you the aura again. After removing the aura from the vessel, kill him right away since he will act in a similar fashion to the knights and will go straight for the blights.
Four teammates will need to stand at one blight each and be prepared to walk into the aura. Oryx will call upon the Darkness, this is when you should walk into the blights and start activating them. This is crucial as once all 4 blights explode, they will stagger Oryx and allow you to DPS him. You need to stay inside the aura so as to not get killed by the exploding blights.
The more blights you make explode, the longer the DPS phase will last. You can bring Oryx to the DPS phase a total of 4 times before he enrages and wipes you. Rinse and repeat this until you’ve gotten Oryx to his last stand. It’s indicated on his health bar when that will be. Upon reaching the last stand, it’s an all-out, you have to kill him or be killed by him, similar to how Rhulk works.
After killing Oryx the raid is over and you get to collect all the loot. In the end, there will be a chest that acts the same way that the Vow of the Disciple one does, where you can exchange your Spoils of Conquest for rewards that you’ve gotten in the raid already. The first one you purchase from the chest each week will be a red border, which is important seeing as you can craft all of the raid weapons. That’s all you need to know about the raid and its encounters. Make sure to share this guide with your fireteam so that you can ensure a fast and efficient run through the King’s Fall raid. Happy “kingslaying”, Guardian!
Click here for King’s Fall services on Blazing Boost 🙂