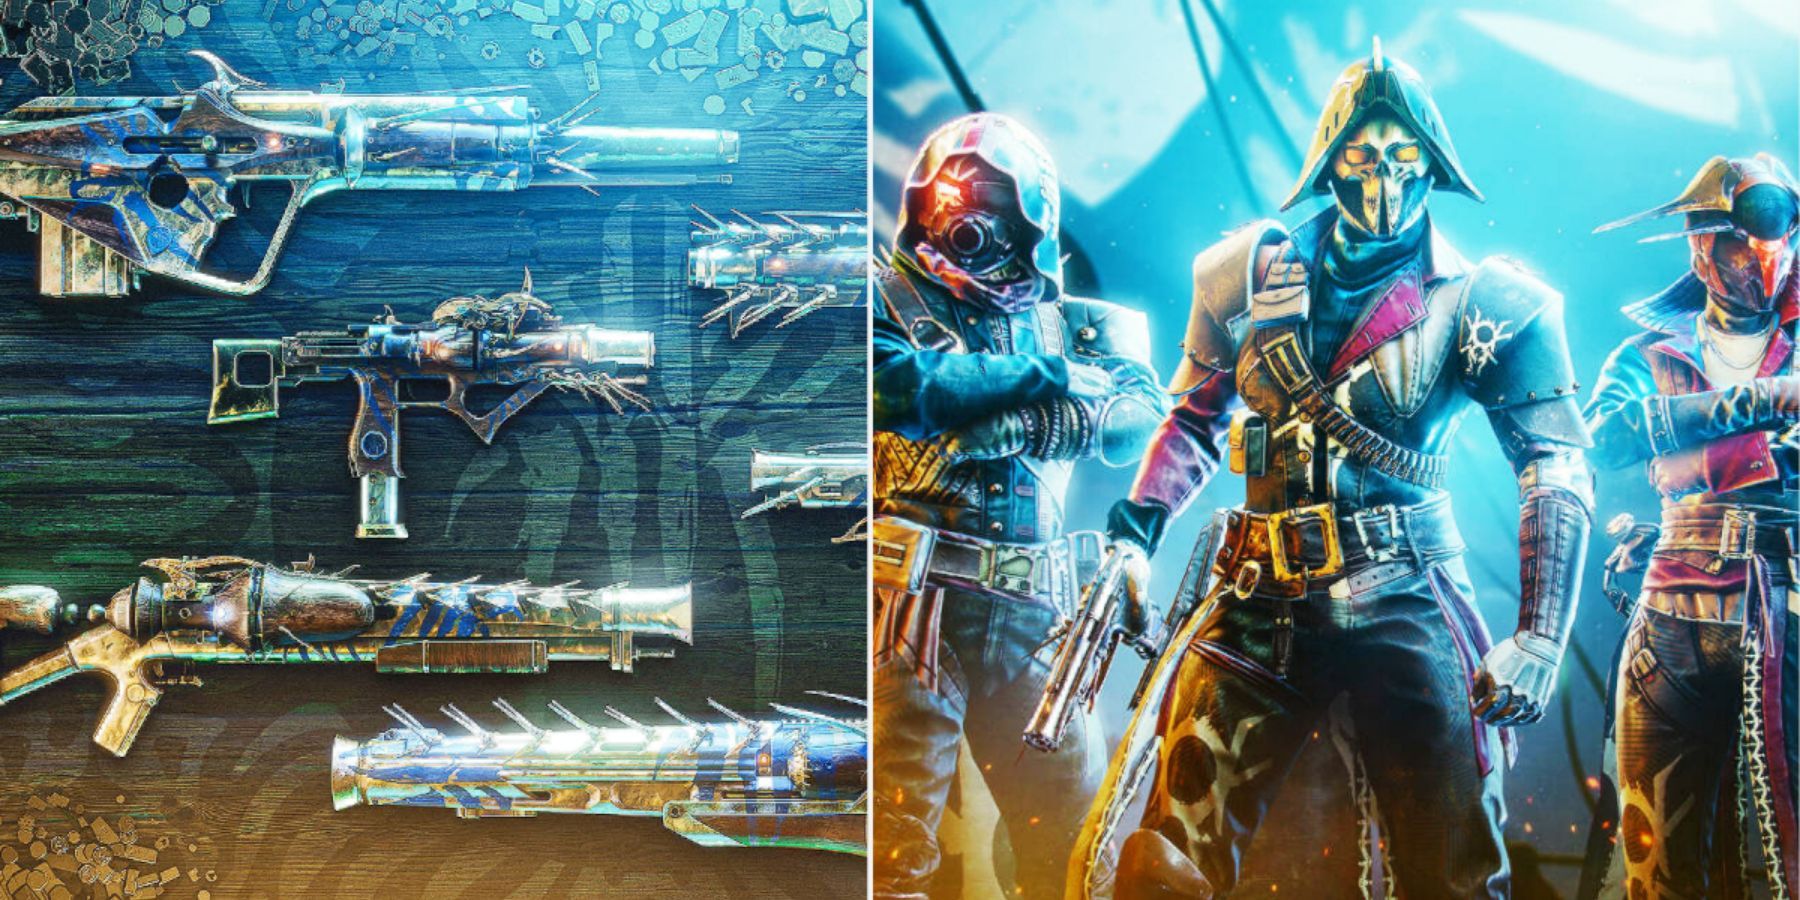
Grandmaster Nightfalls in Season of Plunder also known as “GMs” are the hardest possible difficulty of Nightfalls in the game.
As indicated by the title, this will be Part 2 of the previously posted article which was all about the difficulty, as well as beauty of GMs. In part 1 I went over the strategies and weapon recommendations for Glassway. In this one, I’ll go over the rest of the Grandmaster Nightfalls in a similar fashion.
If you’ve not read part 1 I highly recommend checking it out as it will help you understand this article. You can of course find it on our blog or by following this link!
Without further ado, let’s hop into the next Grandmaster Nightfalls on our list.
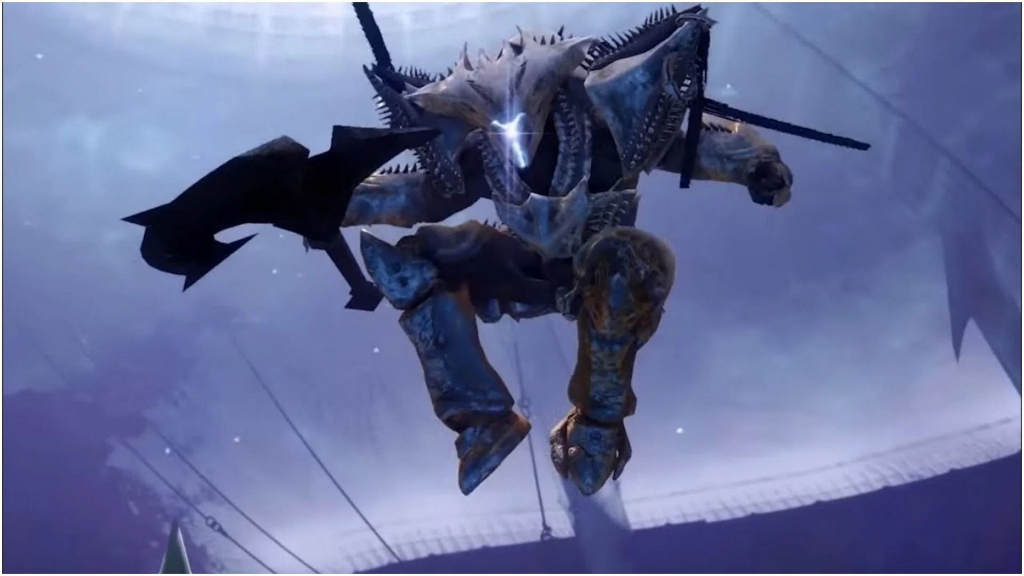
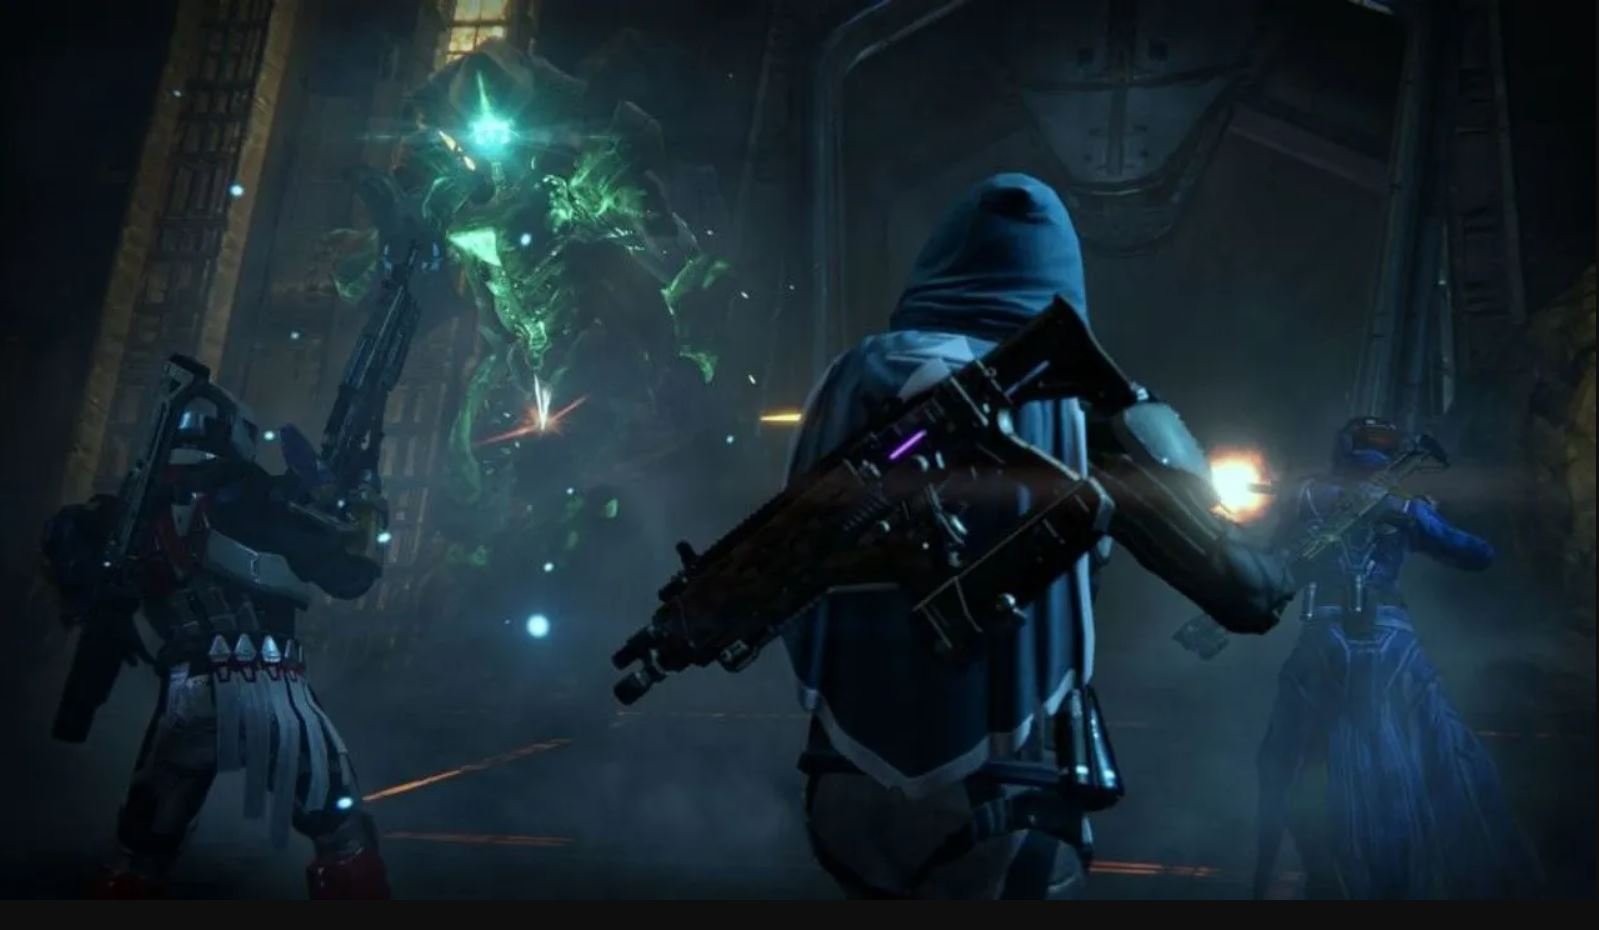
The Lightblade
The Lightblade was released with The Witch Queen and everyone could tell this was going to be the big bad. It was widely regarded as the next scary GM to come after Proving Ground. Turns out to be not as intimidating as we initially expected.
This caused panic initially due to the fact that Grandmaster Nightfall has a lot of sections where you need to be stationary making you an easy target. The boss room is small and has little to no cover, that was the main concern.
Thankfully players fairly quickly devised a plan which made all of that seem pointless. Ultimately turning the big bad into the big sad. Players had figured out that by standing on the bosses plate you would essentially bully him into getting away from you.
As the boss didn’t want any of our space germs he would run away from wherever we were standing. You can probably tell where I’m going with this one, it made juggling the boss super easy, disabling him from attacking you at any given point.
Most of the enemies in the boss room are melee, which is fine seeing as you’re on a high platform. This made the boss very easy to kill if you just made sure to have one person dedicated to messing with him.
The walk up to the boss, however, was no picnic either. As I have stated, there’s still the issue of being stationary for the most part even in a running section where the actual run gets disabled. Thankfully enough there aren’t any tough mobs or champions to deal with, just a couple of acolytes.
In terms of champion modifiers, there are Anti Barrier and Unstoppable. The elemental shields are Arc and Solar and lastly, the burn is Arc. The elemental shields are Arc and Solar and lastly, the burn is Arc, which is great for the same reasons that I mentioned for Glassway.
There are a few things I highly recommend when it comes to Lightblade and that’s using the Arbalest. It’s become a crowd favorite and for a good reason too – it is incredible. With an intrinsic Anti Barrier, you’ll have no trouble, on top of all of that its exotic perk allows it to burst any elemental shield in one shot.
For the Unstoppable, however, I would recommend running a Pulse Rifle as a good ranged weapon that can easily help you with something like that. For solar something like a BxR or Ogma works really well, whereas for arc the best choice is Insidious.
In your final slot, I recommend using something like a Cataclysmic or Stormchaser depending on your choice of the pulse.
As for the supers, Arc is a great choice for both Titan and Hunter. I’m sorry to say Warlocks, but I hope you have a good Well build ready that you particularly enjoy playing. Other options for Hunters would obviously be stealth for better survivability. For Titans something like Sol Invictus or Void Overshields.
That should cover Lightblade, just sit back and kill the mobs from afar and you should be fine for the most part. Next on our list:
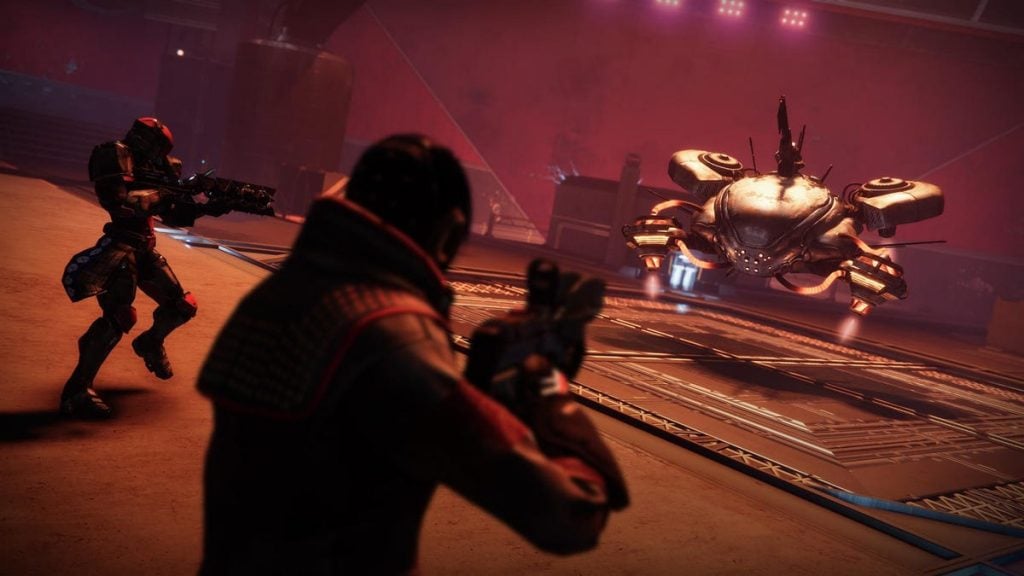
Fallen S.A.B.E.R.
This brings us to our first farming GM for this season, super quick and easy. Once you have the big room strategy down to a T you should be completely fine. I’m going to go over potential builds first this time.
So, we have Anti Barrier and Overload, Arc and Void elemental shields and Arc burn.
Despite my recommendations for Glassway, we’re not going to be using Thunderlord for this one. We need a bit more damage so we can dish out the big numbers to the boss when the time comes. For that exact reason, I recommend getting a Linear Fusion ready.
For Void we’re going to be looking at Taipan, if you’ve not crafted one by now, what are you waiting for? It’s a short quest and I recommend crafting and leveling it up because trust me, you’re not going to want to use anything else. However, if you’d still prefer to go another direction, Threaded Needle and Stormchaser will still work.
Once again for your exotic slot, I’ll be recommending Arbalest, aside from it being the perfect tool for popping the Anti Barrier champions, it’s also a very good DPS weapon when low on ammo. Alternatively, you can use the Sniper Anti Barrier mod and go in that direction as well. Things like Succession and Praedyths being really good options.
For your energy slot, I recommend running bows. If you choose to go with Snipers for Anti Barrier, I recommend trying out Le Monarque and Trinity Ghoul. Both are exceptionally good at clearing and will absolutely demolish Champions on their own.
For legendary bows, I recommend either going with Arsenic, Point of the Stag, or Strident Whistle. Depending on the elements you are missing, mix and match them as you will.
Lastly, let’s talk about Supers. Considering we’re taking loads of damage with us in terms of weapons I don’t necessarily recommend going with DPS supers. I understand this means we aren’t necessarily utilizing the Arc burn. Trust me when I say that getting through the first room will be a nightmare with no protection.
Things like Well and Banner Shield are a must. Many mobs in a small space, with little cover in the boss room will make it very hard to maneuver. Tether will also be a really good way of clearing a majority of the mobs and it will be great for debuffing, provided you’re not already running a Divinity.
Now to the fun part. In order to start the Grandmaster Nightfall you will scan a warmind pod that lands out of nowhere. This of course leads to capturing the point around it. However, as you can imagine standing on the point with mobs shooting at you is not going to be fun.
What you can do is capture the point in increments, since mobs only spawn at certain percentages. This of course gives you less to deal with in a short period and will leave you with a lot less to work with and let you portion your ammo out better.
When that’s over, then comes the run killer. In the big room I’ve been referencing, the mobs are sheltered behind the cover and shooting homing projectiles while you’re left in the open. This is where Banner Shield and Well come into play.
In the back of the room, there will be an Anti Barrier and Overload champion, focus on killing the Anti Barrier first as they will be making all other enemies around them immune. Once you’ve done that you can take your time and make sure that the Overload is taken care of as well, once all of those are down along with the mobs comes part 2.
Heading to the back of the room you will see an interact button which opens up to a canister. I recommend moving back to where you initially entered the room. In the hallway leading up to the door is where the next 2 champions will spawn. Taking them out is crucial to the success of the run.
Destroy the canister and use whatever you need to make sure the Champions are killed before they leave the hallway and hide behind the cover. After that, the run becomes a lot more calm.
You’ll have to grab an energy orb and make a break for the deposit spot. You can slide in order to speed yourself up. That leads you to another room with significantly fewer mobs, but also less cover.
You can make short work of them from as little as one Banner Shield pop. There’s one more room with ample cover after that and that leads you to the boss room right after.
As far as the boss room goes, there’s a really simple almost telegraphed fight ahead. Kill the 2 void shields that spawn, this will bring up cover on the right side. This will be a safe place to DPS from.
It’s just a matter of damaging the boss, killing mobs, and so on, until the final phase. The final phase starts when the boss is at 50% health. At this point, you should be making your way over to the left side from the entrance making sure to damage the boss in the meantime.
Once the boss drops to 25% health it’s crucial to have a Banner Shield right in front of him as he will be doing continuous damage which can kill you extremely fast, even in a Well. Keep shooting the boss and you should be able to take him down in the duration of one Banner Shield. If that doesn’t happen, you should spread out and run around, damaging him whenever you grab a chance.
After that, Fallen Saber is done and there are three more left to go.
What to expect in Part 3?
You read that correctly, I’ll be doing a part 3 on this topic as well, going over the final 3 GMs as well. I hope that this info comes in handy when you have a chance to try them out yourself.
Similar to the promotion we had for King’s Fall, I can’t leave you empty-handed. As such until the end of October, you can screenshot that you’ve read this message and send it over to our support “BlazingBoost Destiny2#2444” and claim a 7% off on your next Grandmaster Nightfalls Sherpa order.
If you haven’t already make sure to check out our other articles here.
And if you don’t have time to do it yourself why not check out our GM services on the website here!